Gradient map: recolor any photo with a gradient
Turn any photo into a duotone or a full gradient map: shadows take one color, highlights another, and every tone between follows your gradient. Pick a preset or build your own, then save it at full size. Free, and your photo never leaves your browser.
Gradient map tool
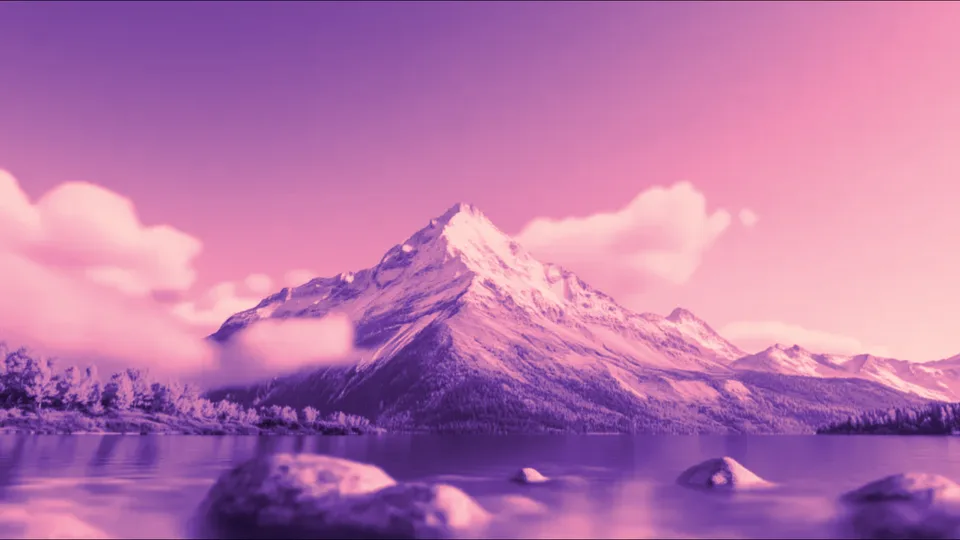
Presetspreviewed on your photo
How to make a gradient map
Pick a photo
Start from a sample, click Upload a photo, drop one anywhere on the page or paste it from your clipboard. JPG, PNG and WebP all work, and the photo is read in your browser, never uploaded.
Choose a gradient
Tap one of the 16 presets, each previewed on your photo, or build your own: click the bar to add a stop (up to 6), drag stops to move them and click one to change its color.
Fine-tune and export
Set intensity, contrast, brightness, blend mode and grain, compare with the original, then export a PNG or JPG at your photo's full size. You can also copy the gradient as CSS.
What a gradient map does
Every pixel in a photo has a brightness, from black to white. A gradient map lays your gradient along that scale and swaps each pixel for the color sitting at its brightness. That is why the effect never looks pasted on: the shapes, light and texture of the photo stay put, and only the palette changes.
Two stops make a duotone, the poster and album-cover look where a deep color holds the shadows and a bright one the highlights. Three to six stops give sunsets, thermal looks, metallic chrome or soft brand palettes. A gradient overlay is the gentler cousin: a color wash across the frame that tints the photo without remapping its tones.
Tips for better gradient maps
- Keep the darkest color on the left. Reverse flips the whole gradient when you want an inverted, negative look.
- Photos with clear light and shadow, like portraits, skylines and backlit scenes, give the cleanest duotones. Flat, evenly lit photos can look muddy; raise Contrast to fix that.
- Brightness slides the mid-tones toward one end of the gradient while keeping pure black and white in place.
- For a subtle grade, set Blend mode to Color or Soft light and bring Intensity down to 40 to 70%.
- Use split view to check skin tones and skies against the original before you export.
- A touch of grain (10 to 20%) hides banding in skies and gives prints and posters a film feel.
Want a gradient without a photo?
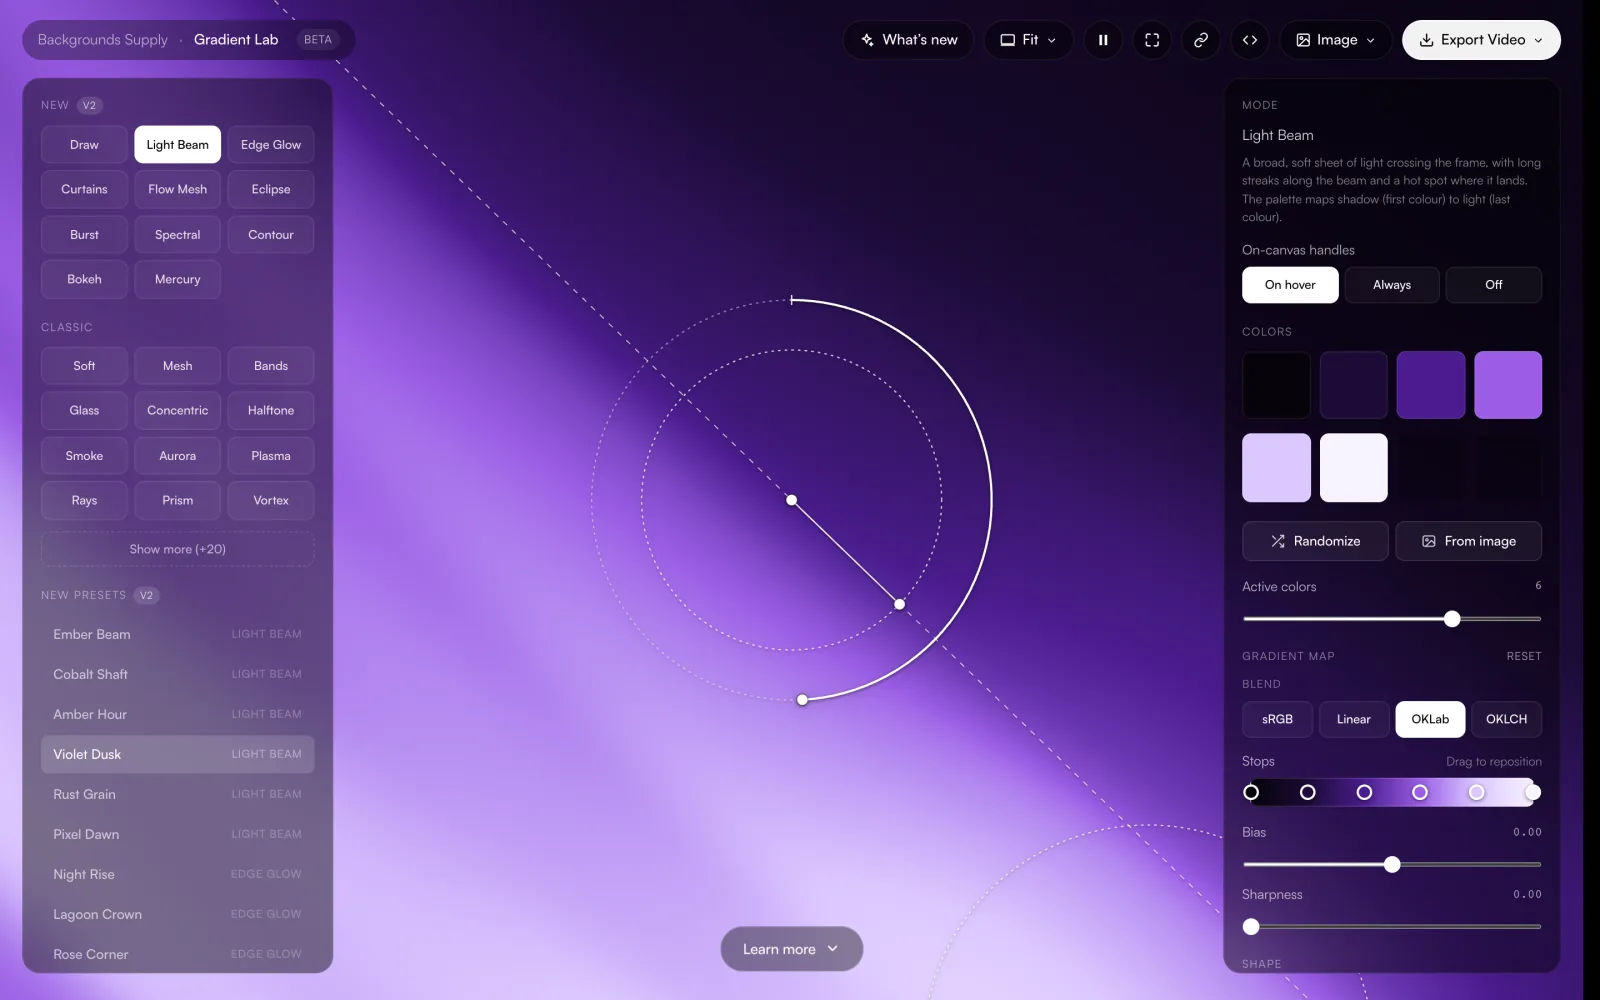
Gradient Lab is the full gradient editor, free in your browser, with animated styles and video export.
- Dozens of styles and 90+ presets
- Drag handles, color and shape controls
- Stills and MP4 or WebM video
More free image and gradient tools
To pull the colors out of a photo instead of replacing them, use image to gradient. For a grainier finish, the grain texture generator adds film grain to your own image, and the halftone gradient generator turns a gradient into print-style dots. Want ready-made art? Browse free gradient wallpapers or grab the free background pack.
Explore more: aesthetic wallpapers, moving backgrounds, free gradient wallpapers, gradient backgrounds, cool backgrounds, free aesthetic backgrounds.
FAQs
Gradient maps, duotones and gradient overlays, explained
A gradient map recolors a photo by brightness. The darkest pixels take the color at the left end of the gradient, the brightest take the color at the right end, and every tone in between picks its color from the matching point on the gradient. Detail and light stay where they were; only the colors change. Two stops give a duotone.
Upload, drop or paste a JPG, PNG or WebP photo, then tap one of the 16 presets, each previewed on your own image. To build your own, click the gradient bar to add stops (up to 6), drag them and click one to change its color. Adjust intensity, contrast and blend mode, then export the result at full size. It is free and needs no account.
A duotone shows a photo in just two colors: one for the shadows and one for the highlights, with every tone in between a mix of the two. It is the bold poster and album-cover look, and technically it is a gradient map with two stops. Classic pairs are deep blue with hot pink, or near-black with cream.
Pick a two-color preset such as Pop duotone or Noir, or remove stops until two are left and set a dark color for the shadows and a light one for the highlights. Raise Contrast for a punchier, poster-like look, or lower Intensity to let some of the original color through. Then export a PNG or JPG at your photo's full size.
Choose the Noir preset, a two-stop gradient from near-black to off-white. Because a gradient map follows brightness, this gives a clean black and white version of your photo, and Contrast and Brightness then shape the tones like a curves adjustment. Swap either stop for a warm or cool tint to get a toned black and white.
Choose Layer, New Adjustment Layer, Gradient Map, then click the gradient in the Properties panel to edit its stops. The left stop colors the shadows and the right stop the highlights. Reverse flips it, and the layer's blend mode and opacity work like Blend mode and Intensity here. Designing the look here first is a quick way to find stops worth copying across.
In Procreate, open Adjustments and choose Gradient Map, then pick or edit a gradient and slide to set its strength. In Clip Studio Paint, go to Layer, New Correction Layer, Gradient Map. Both follow the same rule as this tool: the left end colors the shadows and the right end the highlights.
In Canva, select your photo, click Edit and look for Duotone under the effects, which offers two-color looks. Figma has no gradient map adjustment, so the usual workaround is a black and white image with a gradient on top in a blend mode such as Color, which only approximates it. For a true gradient map with up to 6 colors, make it here and place the export in your design.
A gradient map follows the photo's light: shadows and highlights each get their own color. A gradient overlay ignores the photo's tones and lays a linear or radial gradient across the frame, blended in with a mode such as Soft light, Overlay or Multiply. Switch between the two under Effect; your gradient carries over.
Yes. Set Effect to Gradient overlay, choose linear or radial and set the angle, then pick a blend mode: Normal, Multiply, Screen, Overlay, Soft light or Color. Intensity controls how strongly it tints the photo. Export a PNG or JPG at the photo's full size, free and without a watermark.
Your photo's own size, as a PNG or JPG (JPG photos default to JPG, others to PNG, and PNG keeps transparency). Browsers cap images at about 16 megapixels, so a larger photo is scaled down to fit and the export menu shows the exact size first. The sample photos save at up to 3248×1827. There is no watermark and no metadata.
No. Your photo is decoded and processed on your own device by your browser's graphics chip. Nothing is sent to a server or stored, and closing the tab forgets it. That makes it safe for client photos, unreleased product shots and personal pictures. There is no account, so there is no history of your edits either.
They are two ways to blend between stops. RGB (classic) mixes red, green and blue values directly, like Photoshop's default, which can give muddy or grey mid-tones between opposite colors. Oklab (smooth) mixes in a perceptual color space, so the steps look even and the mid-tones stay vivid. Copy CSS uses the same choice.
Yes, everything is free with no signup and no watermark, at your photo's full size. The image you export is yours to use in personal and commercial work, as long as you have the rights to the photo you started from.